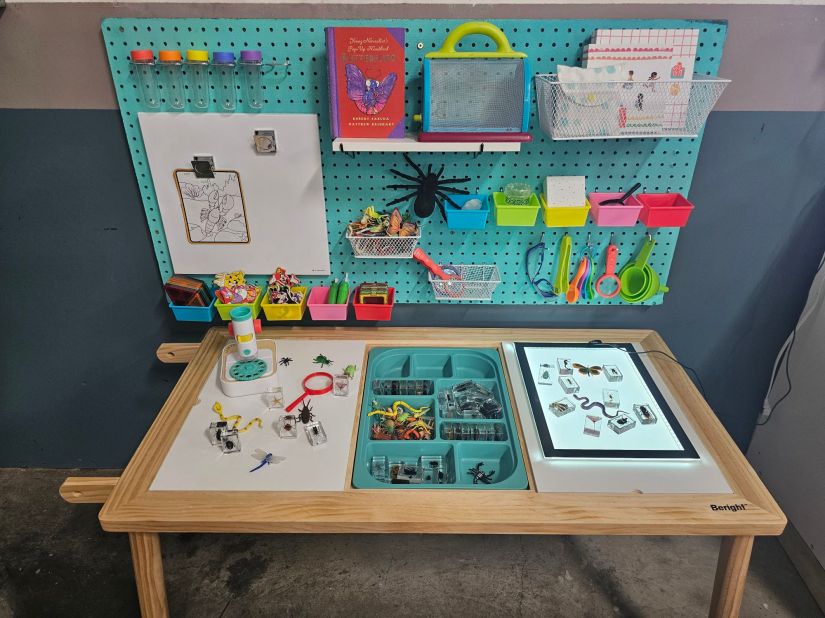
I had a huge request on how to make this sensory table. What I love about my set up is it’s extremely versatile, switching from a water table, to a rice or sand bin within minutes. I can set up various activities within minutes:
- Water Table
- Art Table
- Science Activities
- Play Dough
- Sand or Rice Bin
- Lego Table
- A place for puzzles or blocks
- Stem activities like Magna-tiles
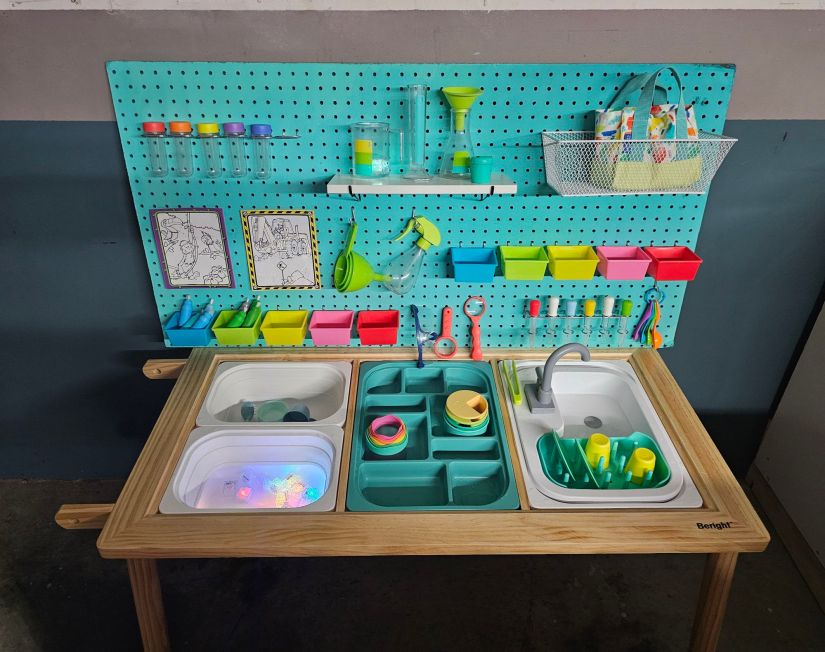
I’m going to share with you my basic set up, where to purchase much of the core items. Then I’ll break down what I bought for my water table/science experiment lab. First thing you will need to do is buy regular pegboard material from Home Depot or Menards and cut it to size. This measures 46 by 24 inches. Then you can spray paint it or use acrylic paint. If you plan to spray with spray paint, you will need two coats which will equal about 2 cans. I also recommend a clear polyuethane top coat to protect it from water.
- Sensory Table $79: Beright 5 in 1 sensory table from Amazon
- Collapsable Bin storage $8.99: Beright Storage Bin from Amazon
- Beright Teal Storage Tray $12: Beright Teal Storage Tray from Amazon
- Beright Smaller Storage Bin (2pack) $8.14: Beright smaller bins 2- pack Amazon
- Beright Sink and 1 storage bin $39.00: Beright brand sink from Amazon *Note in my photo I inserted my Lovevery brand sink. This can only be purchased through a subscription on the Lovevery website or some sell it second hand on Facebook marketplace. I decided to stick with the Lovevery sink since much of my toys match the table well.
- Rainbow pegboard attachements $26.99: 20 Pack Pegboard Cups Amazon
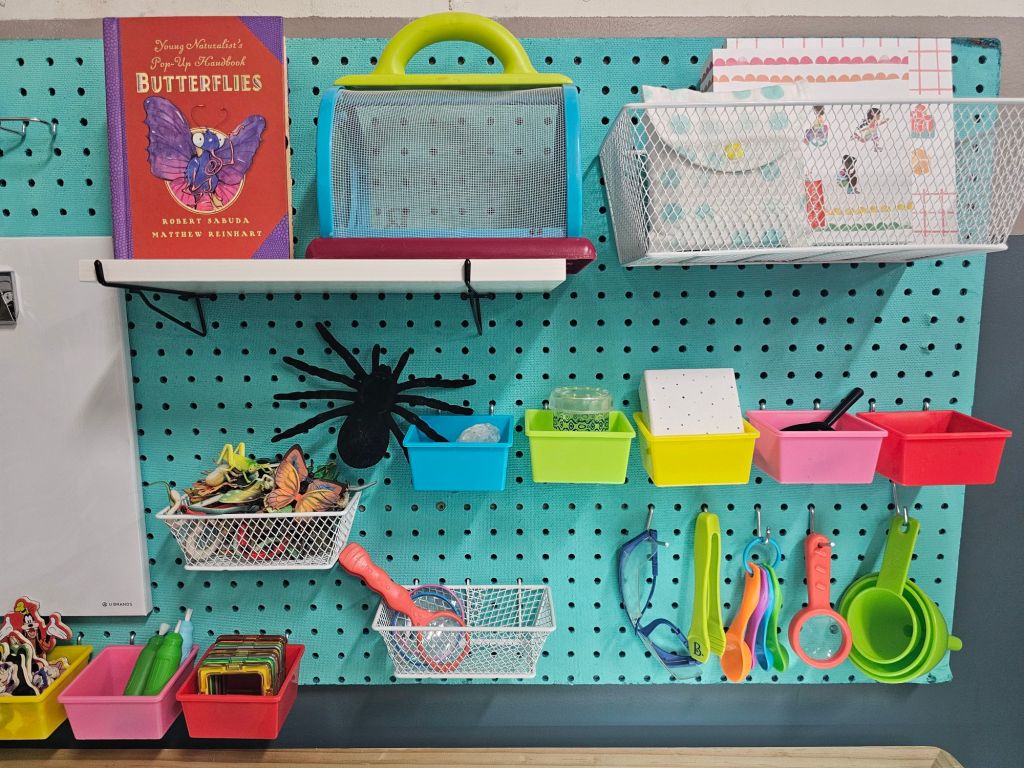
- White Baskets $25.99: White Pegboard Baskets on Amazon
- Pegboard shelves from amazon
- Cut out pages from Doug and Melissa Water Wow books: You can find these at a lot of stores, target or Walmart, amazon. Craft stores, or kids stores.
- Magnetic whiteboard and magnetic clips to hold water wow: Both from Walmart
- Many of the items you will see displayed are the Lovevery brand like the test tubes, or science beakers. If you don’t plan on subscribing I recommend purchasing a science kit: Science Kit on Amazon
- Magnifying Glass, bug catcher, tongs: B Toys bug catcher from Amazon
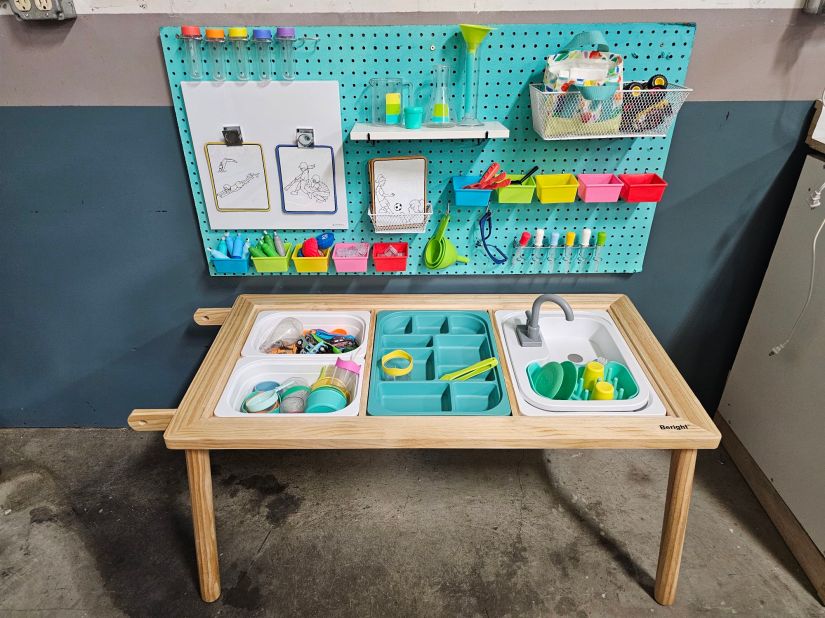


I added a 14 x 14 whiteboard that is magnetic. This works great to attach our water wow book pages. Attached them to the magnetic whiteboard and color with water. I also just set out regular paint brushes instead of the fancy plastic one it comes with. They can just dip their brush straight in the water and paint more naturally. I also bought color changing Disney Cars. We fill up one section of very warm water. Then we fill up the sink with extremely cold water. You can add ice in the bin or put cold packs in.
Color changing light cubes $34.95: Glo Pals Light up Sensory Cubes from Amazon * The ones pictures were not glo pals brand. I recommend using Glo Pals brand. I also just seen some fun light up toys clearance out at Walmart for $3.00 for a two pack.

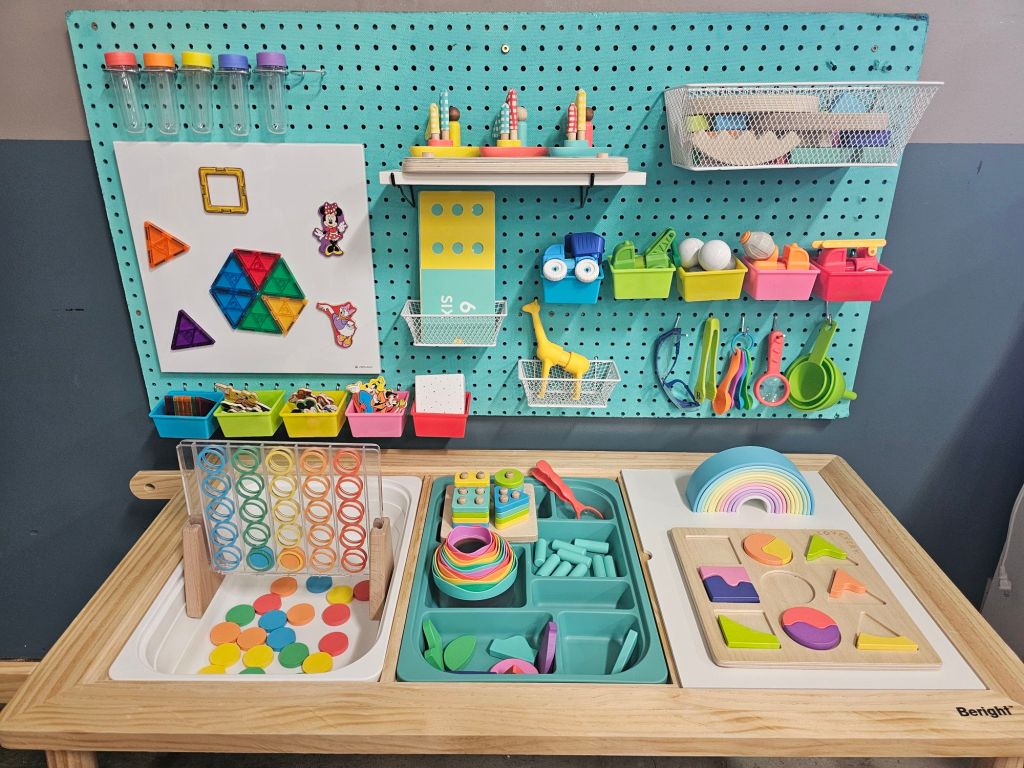
Here you can see how I swap out items from water play. Now it has become an activity center. And my lovely whiteboard now doubles as a place to stick magna-tiles or fun character magnets.
Exploring bugs in resin $69 : Bugs in Resin from Amazon
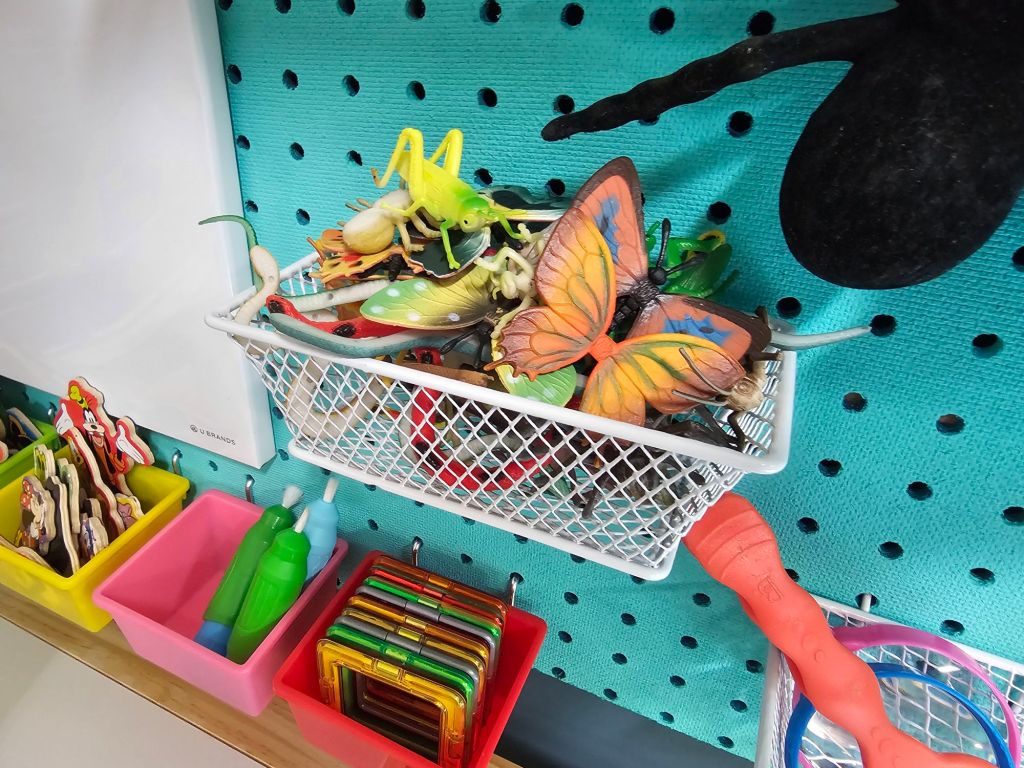
Plastic Bugs $12.99: Plastic bugs from Amazon

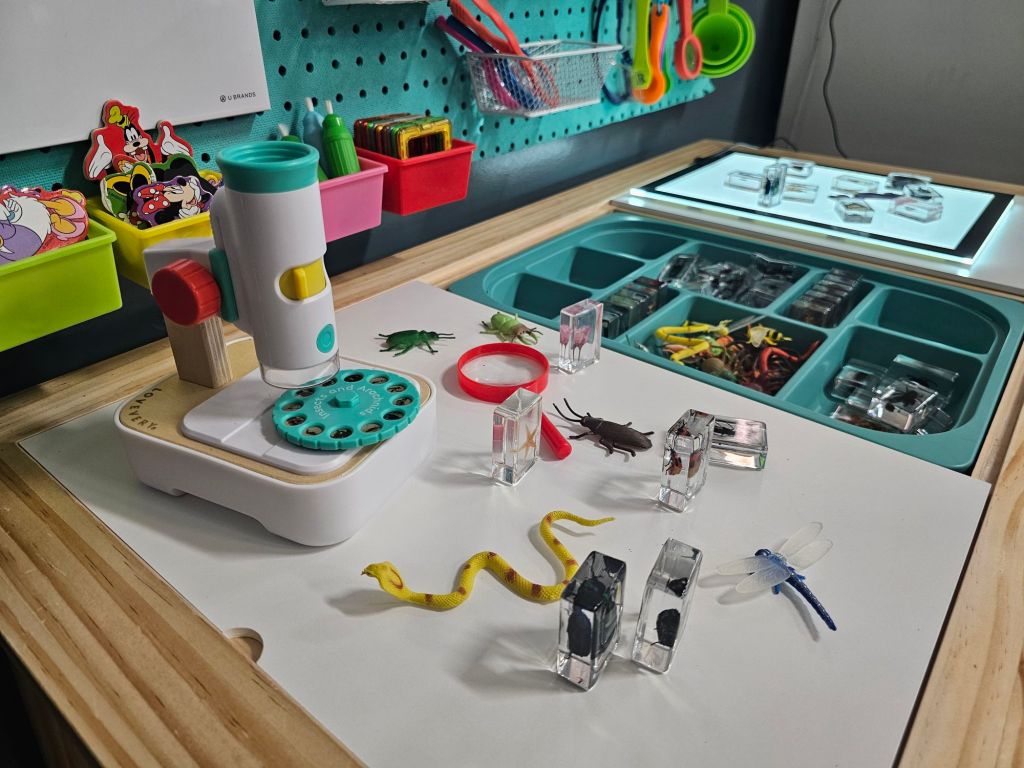
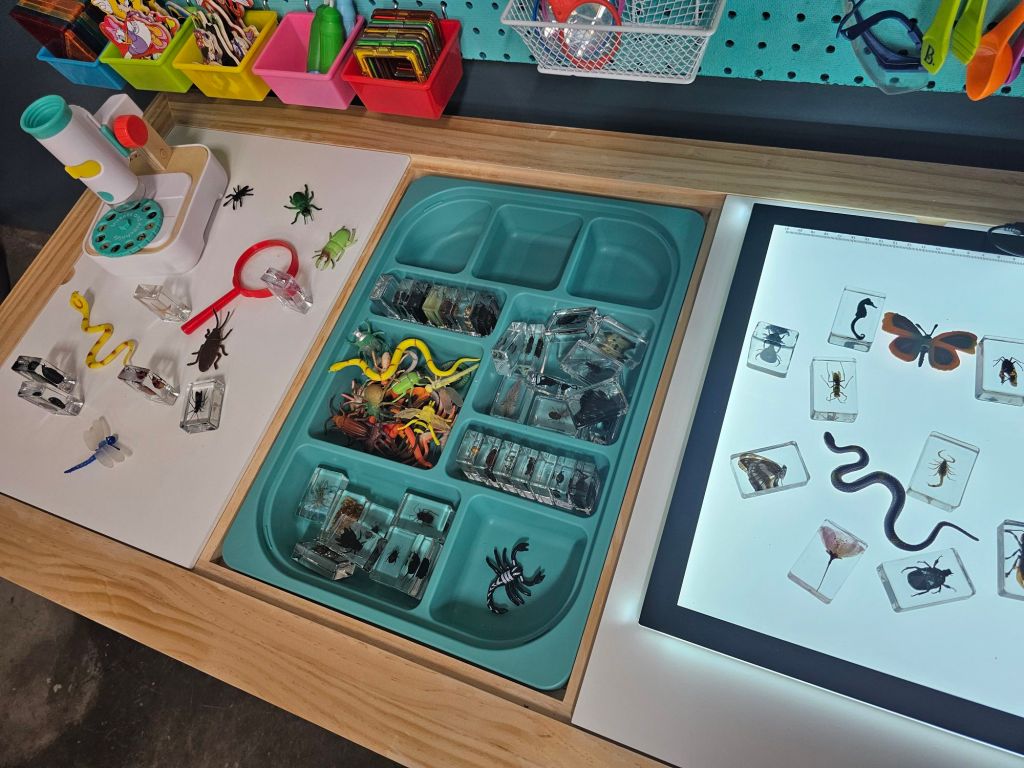

Light up board $15.98: Light up Board from Amazon *This has to be plugged into an outlet in order to turn one. So keep that in mind when placing your table. I also recommend supervision since it’s plugged in. I hid the cord behind the table. This will be an area they can set magnates to light up as well.
I attached the light up board using command velcro adhesive strips. I also attached the whiteboard using these.
I plan to switch this up around the holidays. So I will post more of our fun activities. If you aren’t already subscribed, please follow my blog. I appreciate the support!

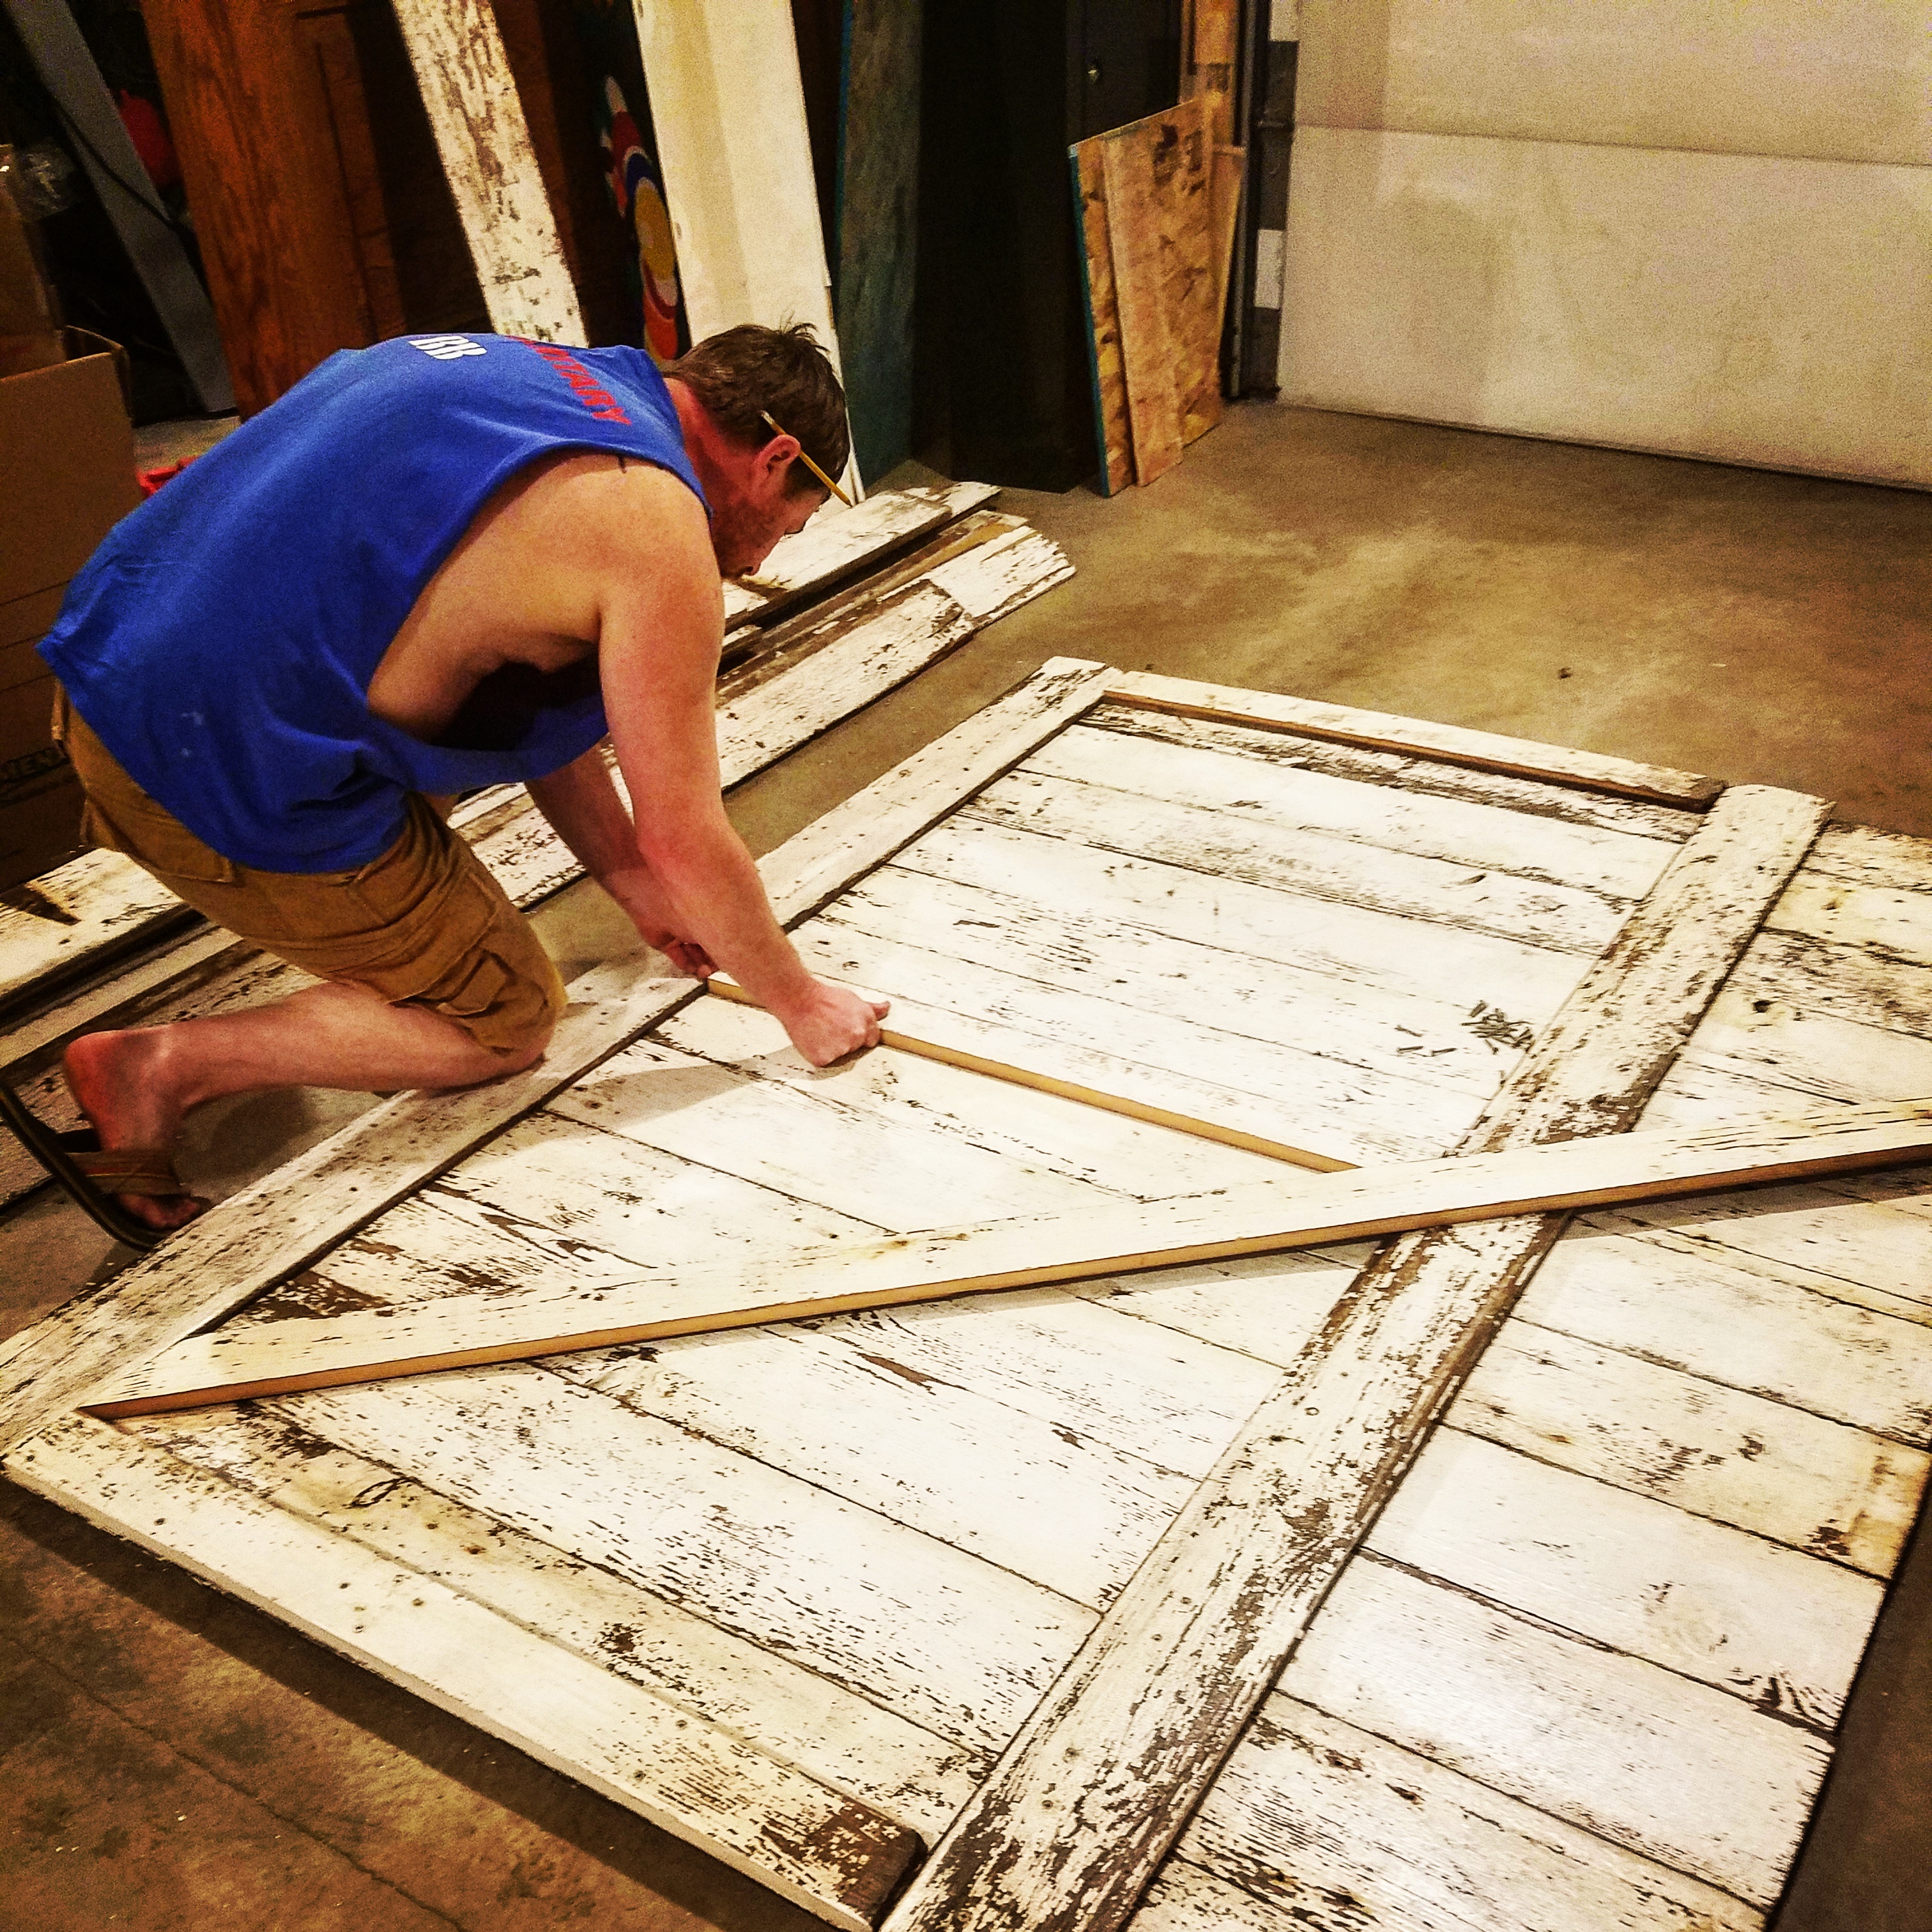 A close friend of mine had an old barn that collapsed recently and she let us have some of the barn wood. We were so lucky to be given this rustic jem because it’s not easy to come by.