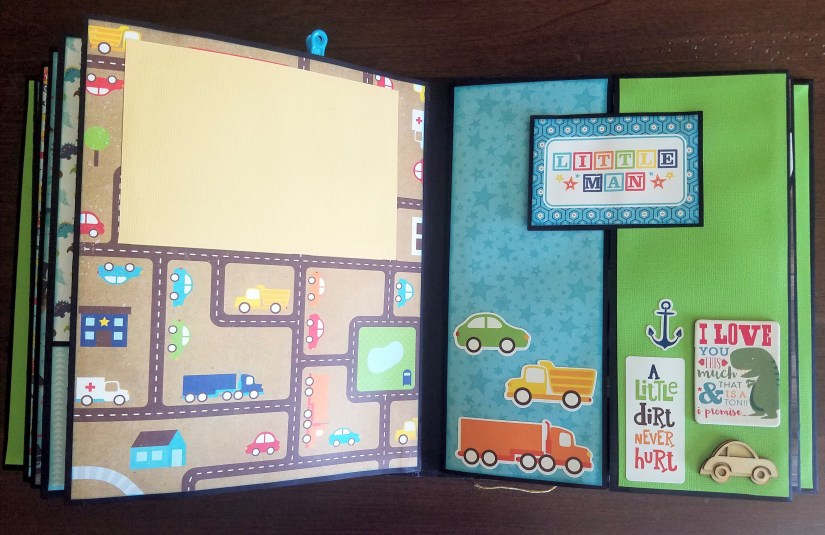
I made this scrapbook for my little man Everett. It features everything that adventurous little boys love like trucks, pirates, dinosaurs and more. I used multiple scrapbook collections from the company Echo Park to include the Little Man collection, Dino Friends and Pirates Life. These three scrapbook lines worked well with each other and I could use them intermittently throughout the book.


In addition to these three scrapbook lines, I used some bits and pieces from each line as well as some plain scrapbook paper. Here is everything you need:
Checklist
- Dino Friends Chipboard Stickers
- Bits and Pieces from the Little Man Collection
- Black Cardstock
- Primary Colors Cardstock Paper Pack (Red, blue, yellow, green)
- Glue
- Paper Cutter
- Cardboard – (For book binding)
- Scissors
- Miscellaneous – (Some pieces came from my stock pile of crafts)
- String – (For door enclosure)
- Crop-A-Dile Eyelet Paper Punch
- Eyelets – (Any color that matches well with the book)
Step 1: Create Book Cover
To create the book cover, you need to use my book binding technique explained on my scrapbook page. Here are the dimensions you need: 2 cardboard pieces cut to 8 1/4″ wide by 10 1/4” tall. A cardboard piece for the binding cut to 4 1/4” wide by 10 1/4” tall.

Step 2: Cut and Assemble inside Pages
All the inside pages fold out in different directions. I usually feature about 6 main pages in my book that are secured to the binding. Each page will feature a different fold out that will reveal more on the inside. Here is some photos of page 1 in this scrapbook. The face of the page has a waterfall layout that folds up to reveal more content. When you open up this page. . . . . .


Page 1:
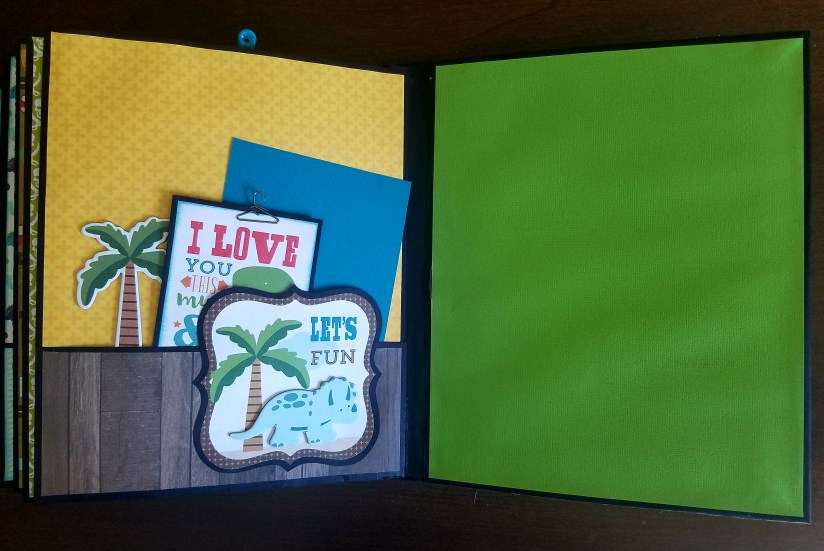
The flap opens up to a fun dinosaur page. On the left hand side I glued down a strap to hold a photo matte. I will add photos to this later, but this gives you a good idea of where photos are placed. On the right side, I glued down a pocket to stuff photo mattes, or really anything I want to save such as artwork for my little man or tickets from our trip to the museum.


When you turn the page to flip to page two, you can see the back of page 1. . . ( which is shown below on the left hand side of the book.

Page 2:
Page 2 is folds open to this. . . .


and then folds open again to this . . . .


The fold on this page measures out to 4 inches wide.
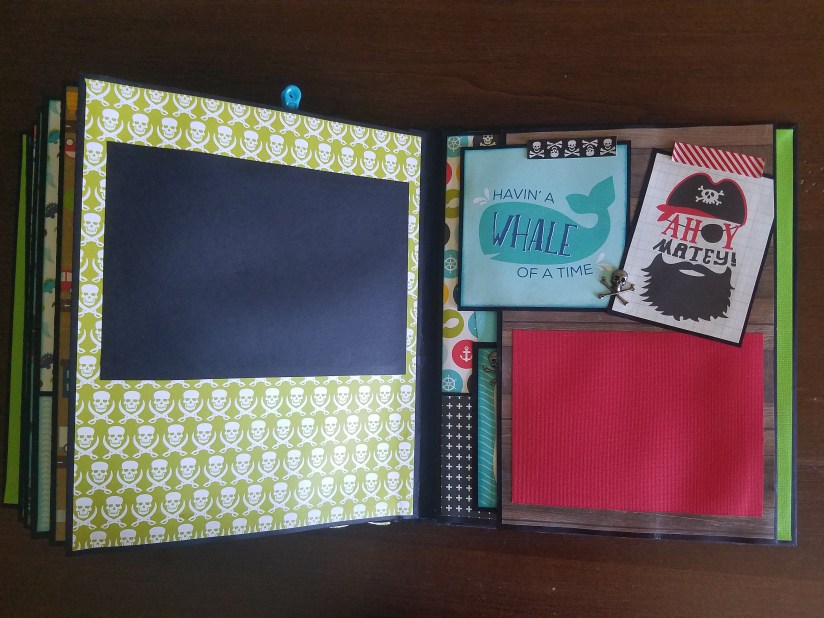
Page 3:
Here you get a good view of the back of page two and the beginning of page 3.


On the face of page 3, I feature another waterfall layout only this time it opens up each page horizontally. I did each fold out page one inch smaller to reveal a small section of page laying under it. These photos below show each page when it’s opened up. . .


Page 4:
Ahhhh hoy. We’ve entered into my favorite page in this book! On the left hand side of this photo is the back of page 3. I placed two stripes to it for holding photo mattes. On the right hand side you see the face of page 4. This page has two doors that open up . . . .


When you pull the string that’s tied at the center. . .

It opens up to this. . . . .

I used my eyelet paper punch for the holes. You can add some eyelets and loop string through to seal it shut. I put another vertical waterfall layout on the center of this page.


Page 5:
On the left hand side you can see the back of page 4. I added a pocket to stuff photo mattes or whatever you want. On the right hand side you can see the face of page 5. There is a small pocket on the front to stuff journal cards. When you flip it open. . . .


You see this. . .

Flip it open again and see this. . . .

These fold out pages are each 4” wide.
Page 6:
Now we are getting toward the end. Here is another door enclosure page. I used a cardstock “little man” to keep the door pages shut. You could use a scrapbook magnet to keep these two doors sealed tight.


When you open the doors up . . . .

Page 7:
Since I had so much scrapbook material to place in this book, I decided to add a seventh page. I usually try and keep it to six because if I add more pages it can be hard to close the book. My binding was about 4 inches wide so I decided to squeeze in this last page.


When you open this page up . . . .


Then flip to the back of page 7 and you see. . . .