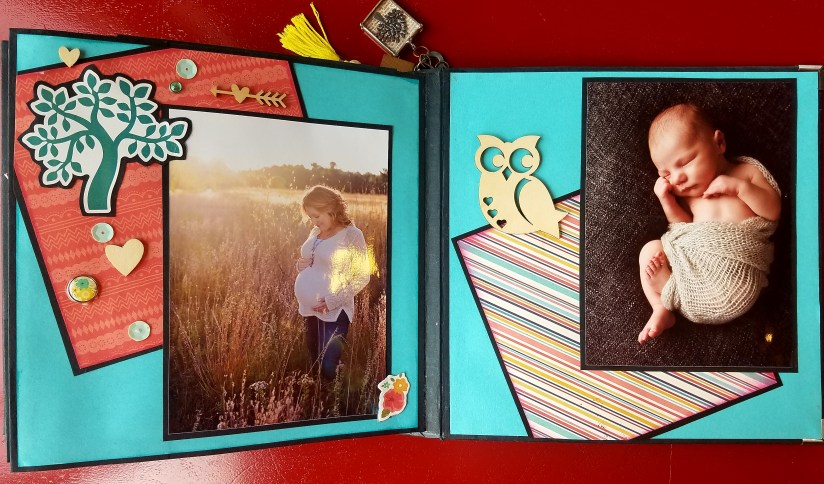
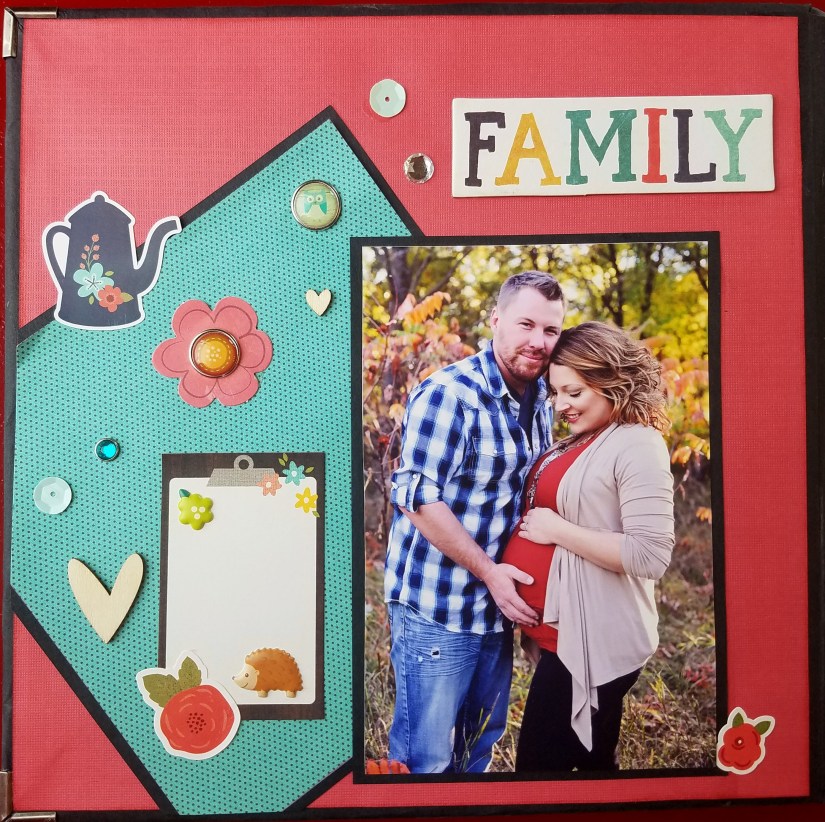
This is probably one of my favorite scrapbooks of all time. I made this just before my maternity leave and then put Everett’s newborn photos in it just after that. This scrapbook has my most precious photos that were taken by my friend Lisa Sherwood. I’m very blessed that she was able to take his newborn photos because she is an amazing photographer. I love everything about this scrapbook!


I made this scrapbook using The Story of Our Family paper line by Echo Park. In addition, I used some chipboard pieces from the same collection. Much of the embellishments came from my large stock so it would be hard to point out every detail. I can however give some basic direction on how I made this book.
I use the same construction style on all my books. Learn more by checking out my scrapbooks page. This will help you to learn the basics on creating this scrapbook.
Here are the dimensions for this book: The front and back cover measure 8″ x 8″ with a binding of 8″ x 3″. It ended up pretty thick so I recommend doing 8″ x 4″ binding. Always add a 1/4 inch to this dimension when building your cover. So cut the front and back cardboard pieces to 8 1/4″ x 8 1/4″. Then cut the binding at 8 1/4″ x 4 1/4 “.
Once you cover has been made we can cut the pieces for the pages.

I actually cut out pieces for the trunk this tree and then used a paper punch to cut out the leaves. I distressed the sides of each leaf with distressing ink by Tim Holtz. This would be a fun canvas project in itself.
Cutting the Pages:
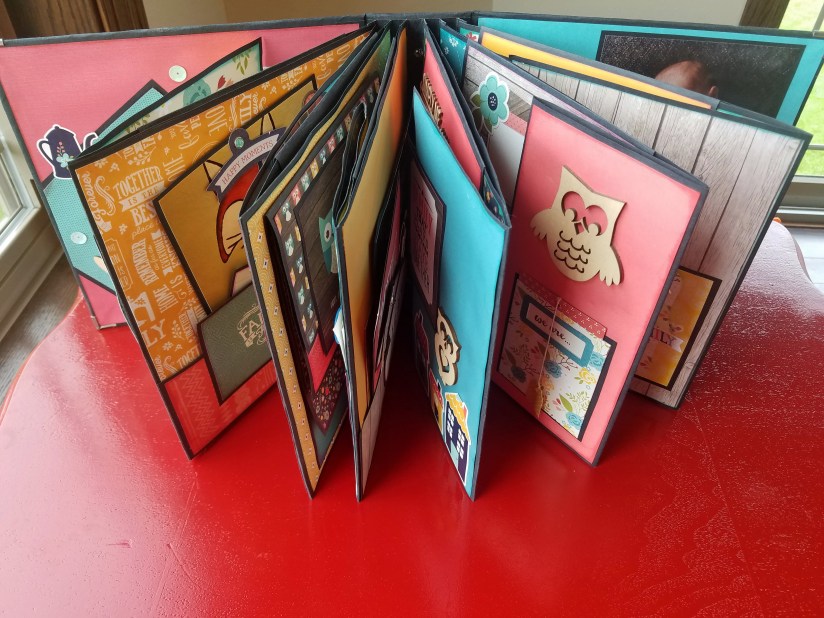
All of my scrapbooks are constructed with 6 pages. Sometimes I will add a 7th page, but they start getting too thick if I add a 7th page. Each page will have some type of fold out or pocket that will reveal more pages. Looking at this birds eye view of my book, you can see how these 6 pages are attached to the binding. You may also notice how full they get when you add in the foldout pages or pockets.
Each page will also feature a top pocket. I usually stuff cards in these top pockets that can come completely out of the book and can be read up close.
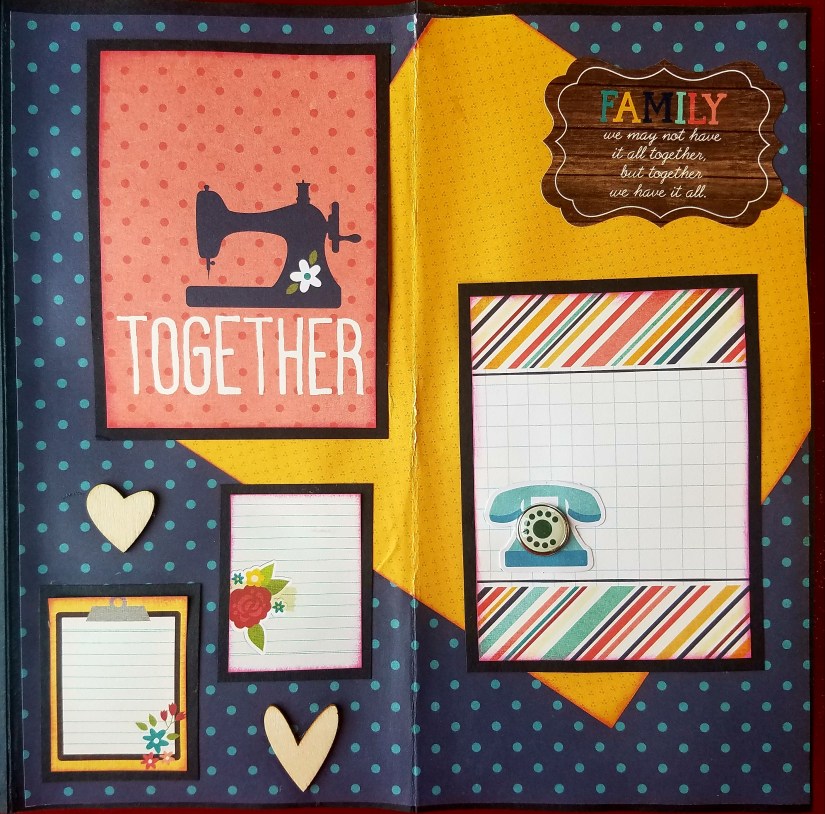
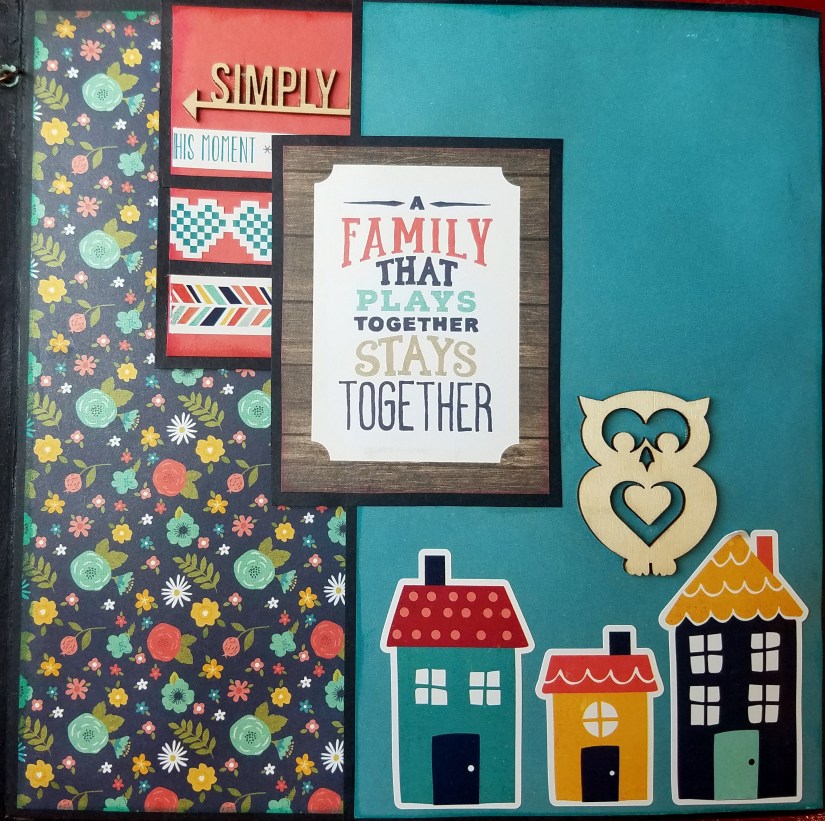
Page 1:
Here’s a view of the first page. You see on the right hand side a picture of me. When you flip this page open. It will open up. . . . . . .

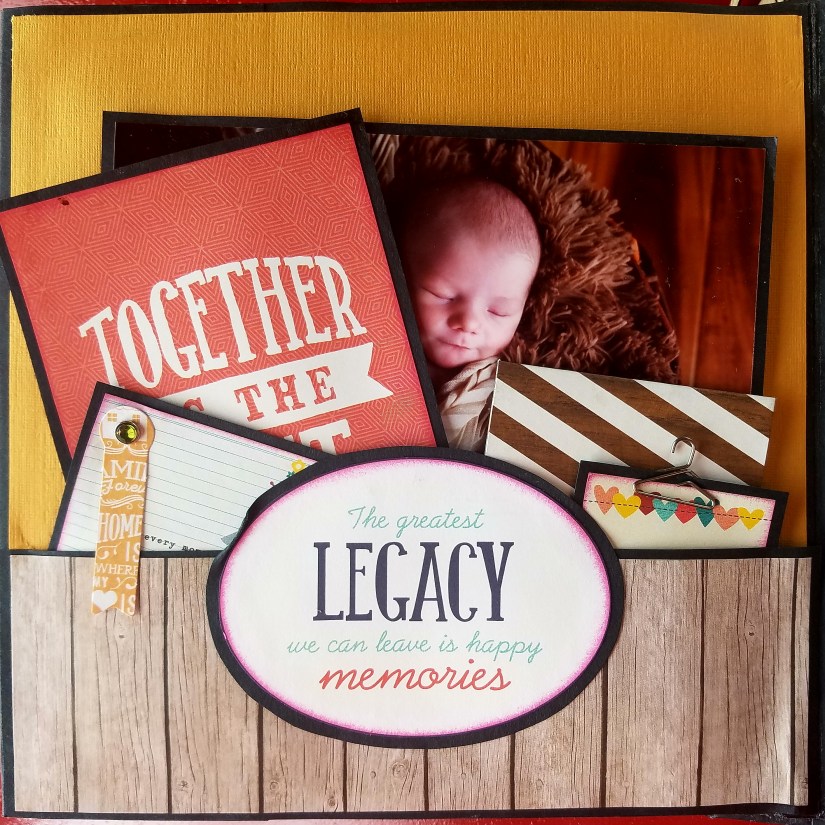
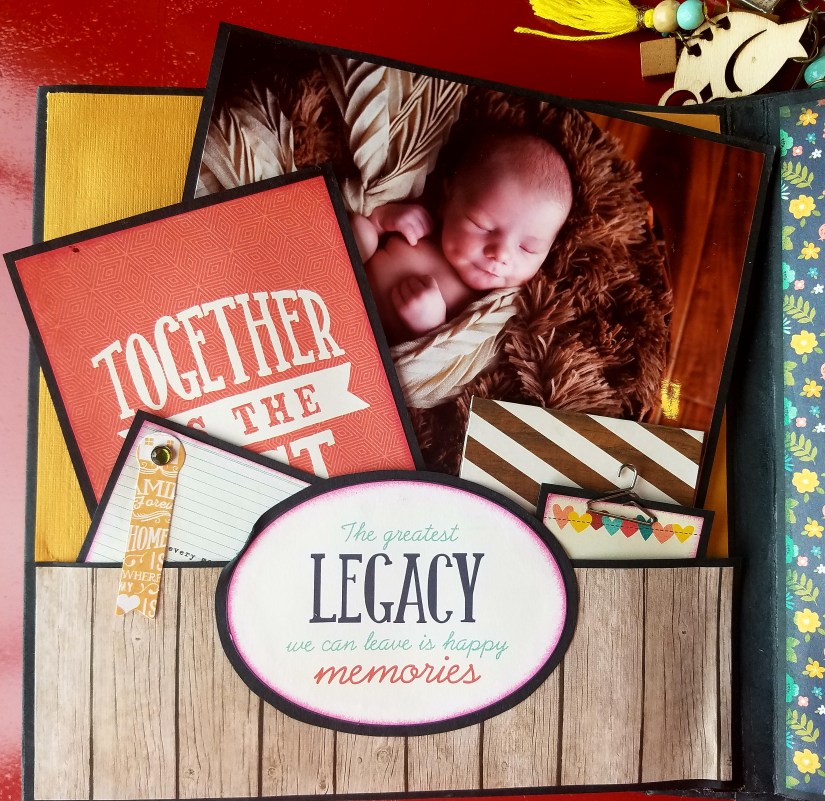
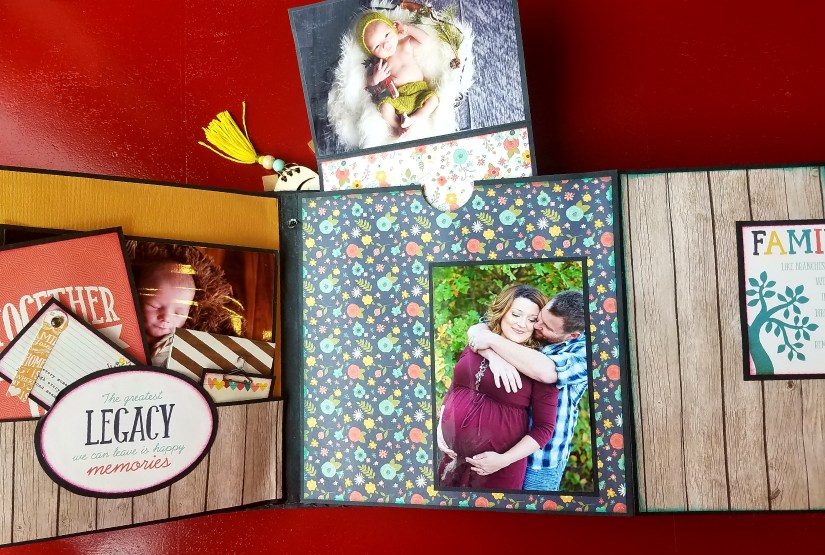
To this page. Looking below on the left, you can see a card that says ” When you love what you have, you have everything you need.” Lift that card up and . . .
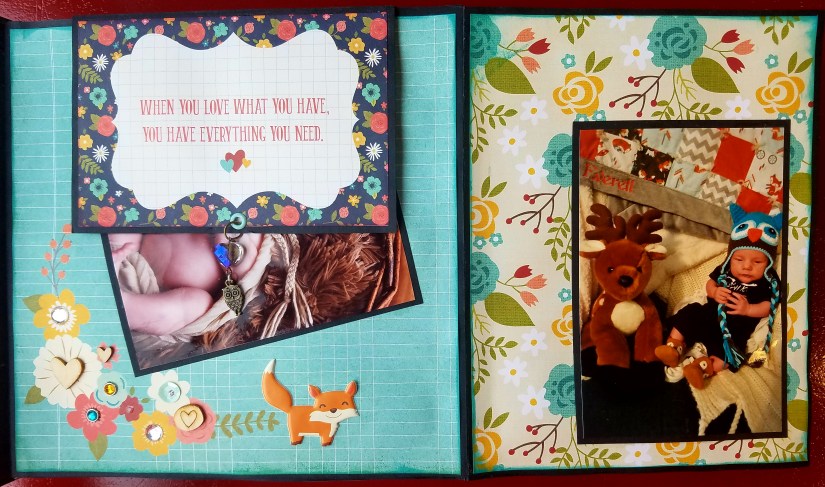
It will reveal the photo below.
I like to use these cards for writing precious memories. Looking below, you can see the page that was just to the right of this one.
Page 2:
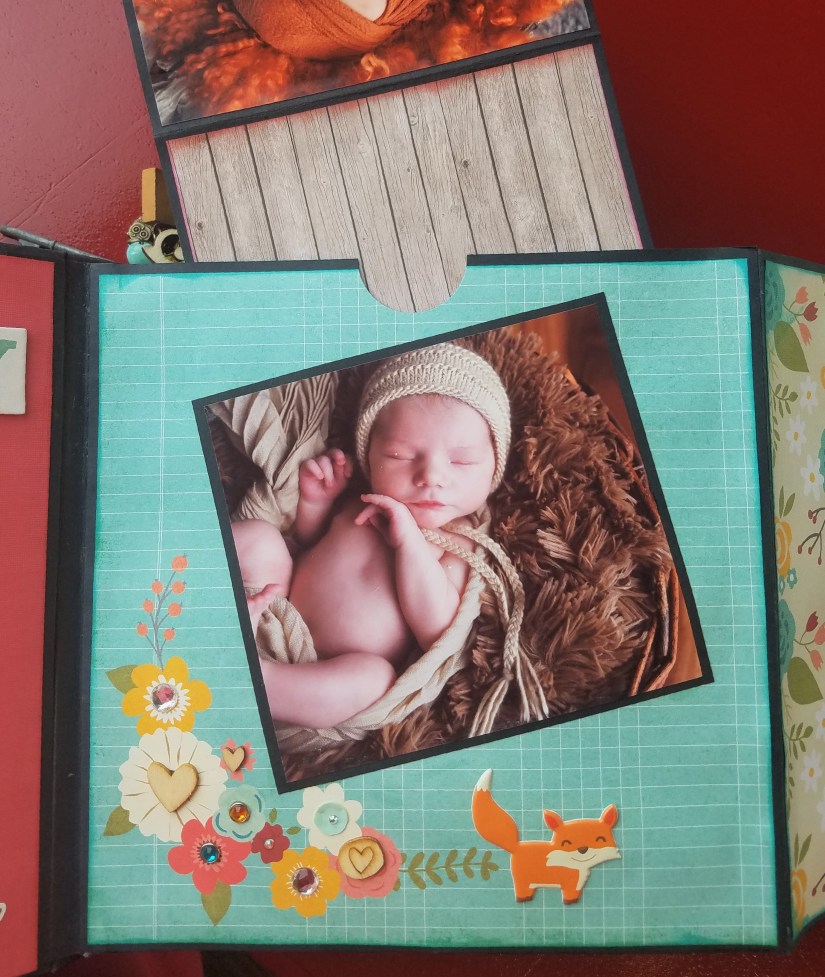
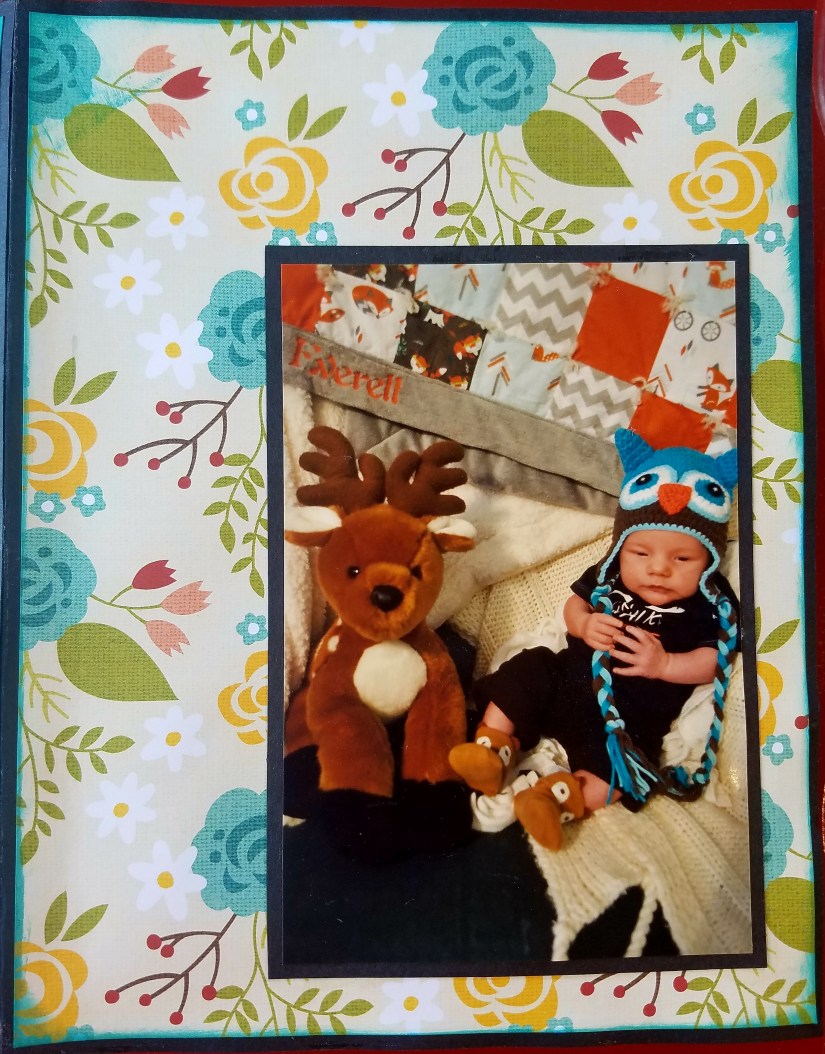
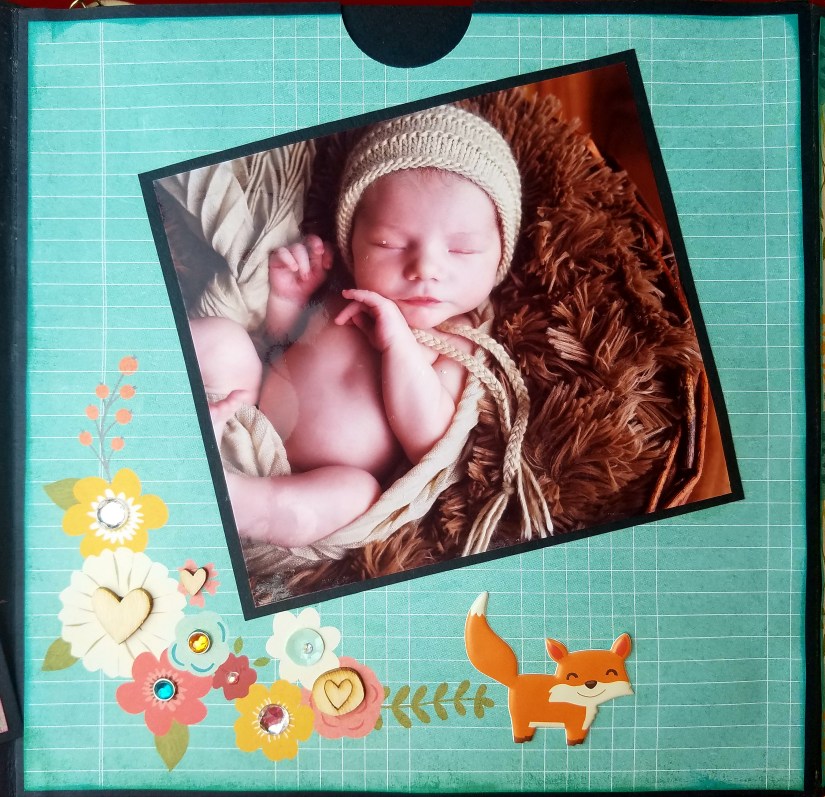
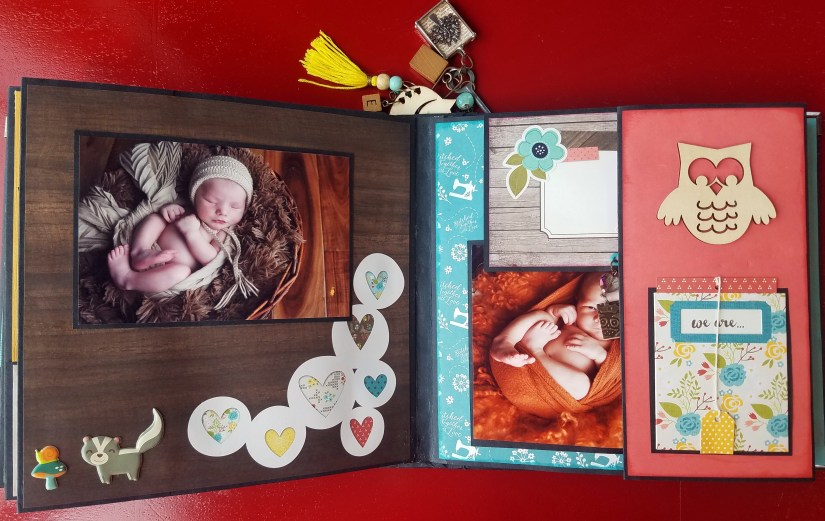
Here is a view of page two. Notice in the center of the two pages, there is a crescent shape tab. I used a round paper punch to make this tab. I just used half of the circle when I punched this out. This tab marks the spot where you can open the page up. When you flip this page it opens up to another page. See below. It’s Everett’s woodland pals hanging out in his crib.
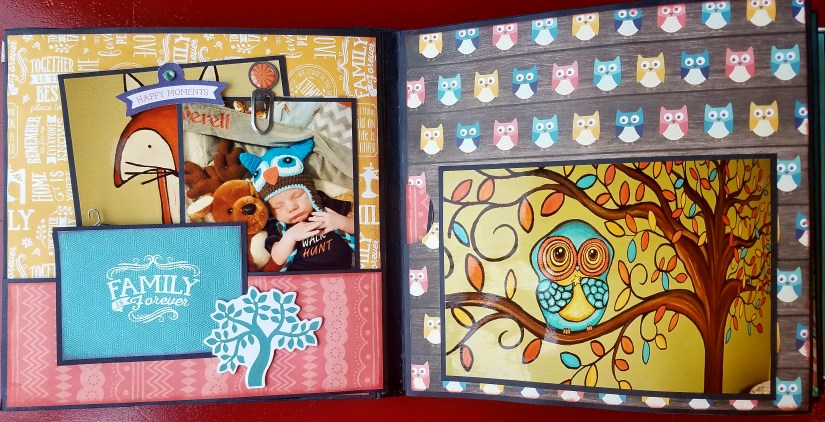
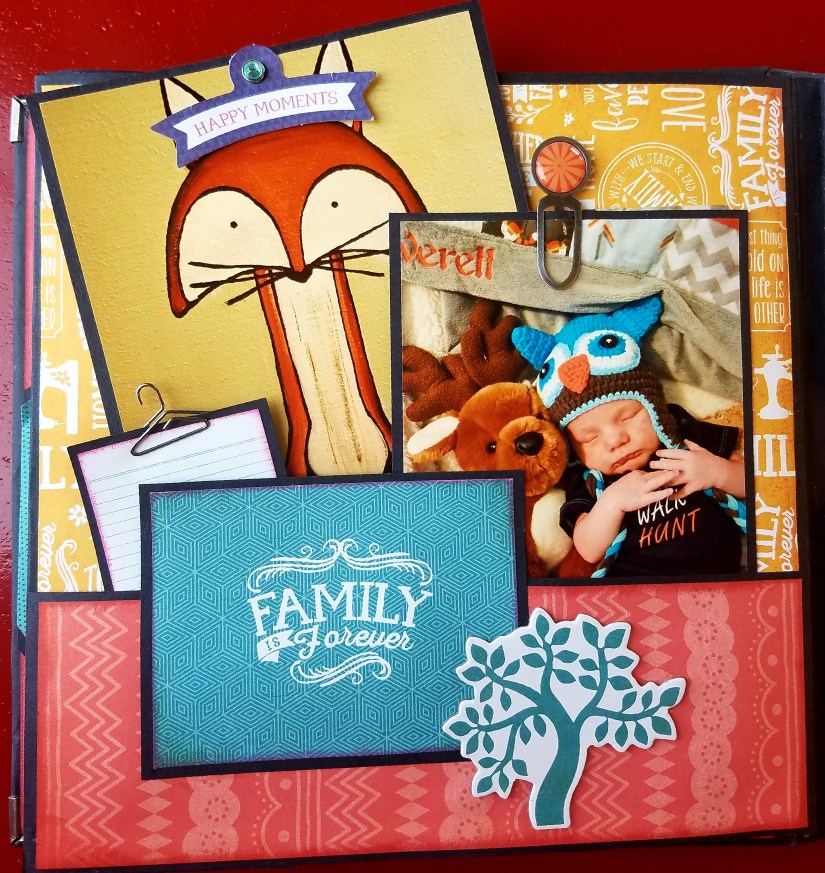
When you flip the flap open. . . .

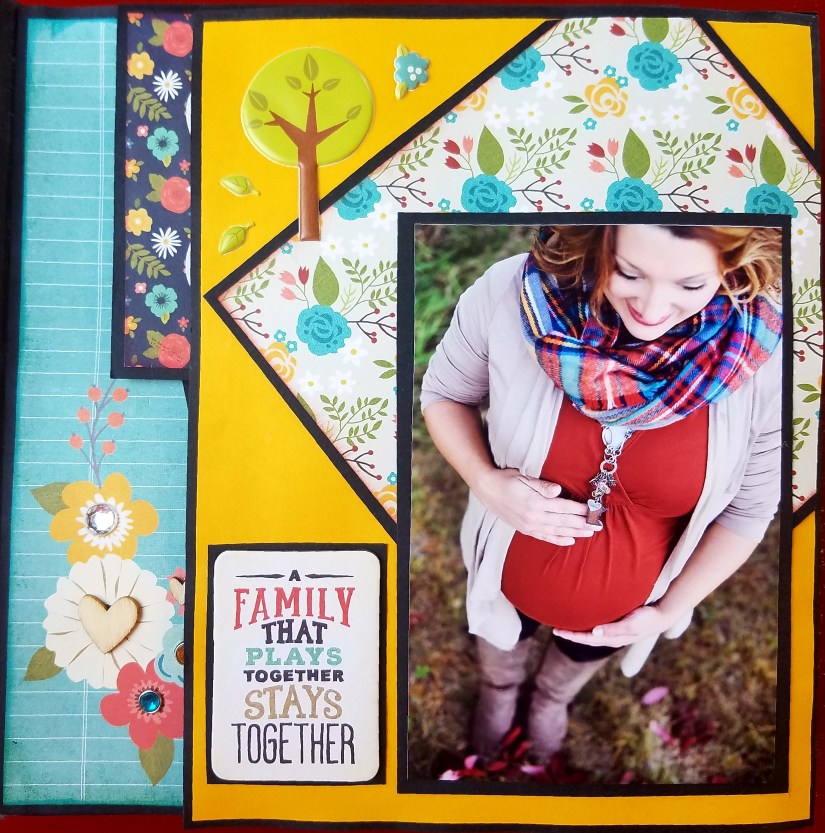
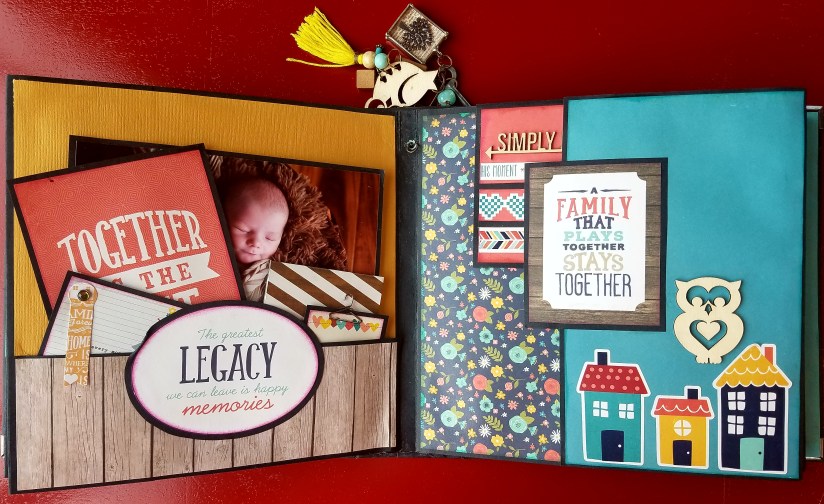
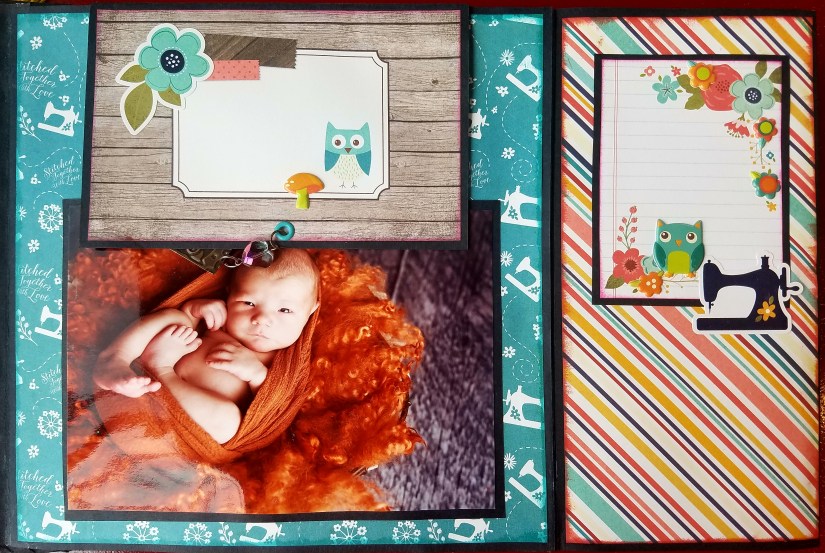
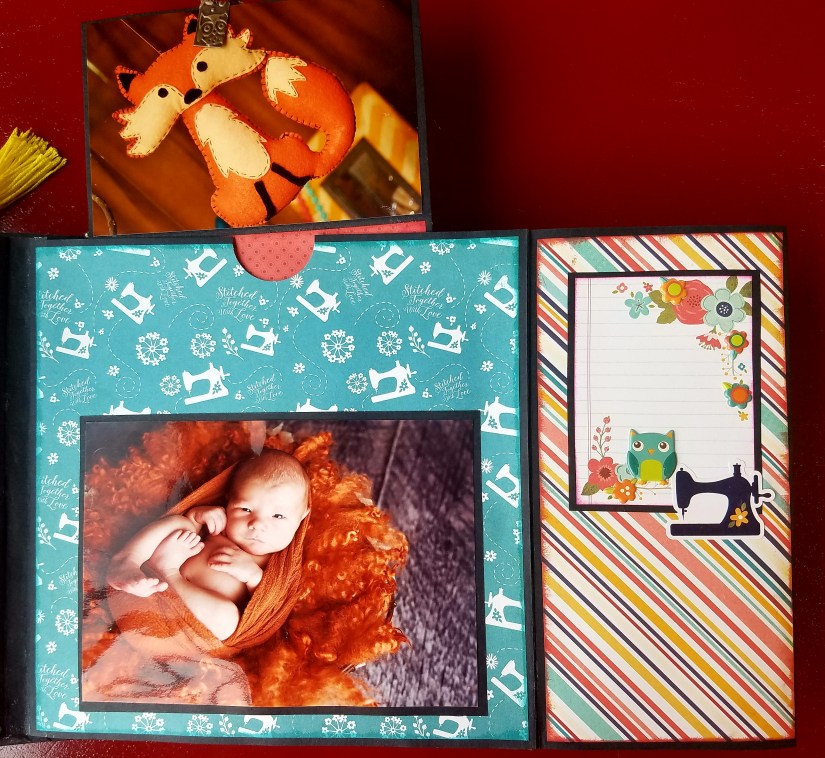
Page 3:
Looking on the left hand side you see a waterfall layout. These flaps lift up vertically and there is much room for photos and writing. On the right hand side is the beginning of page 3. It features a little pocket on the front with an owl. I stuffed a journal card inside. When you flip this page open. . . .
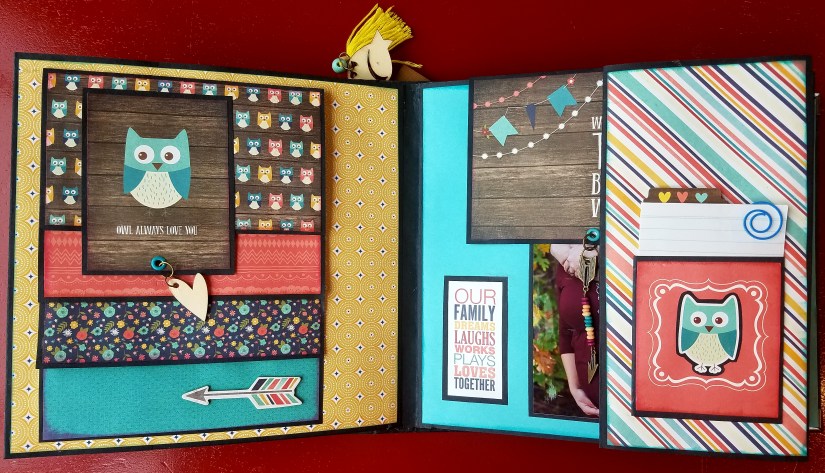


You get a view of this below. . . .
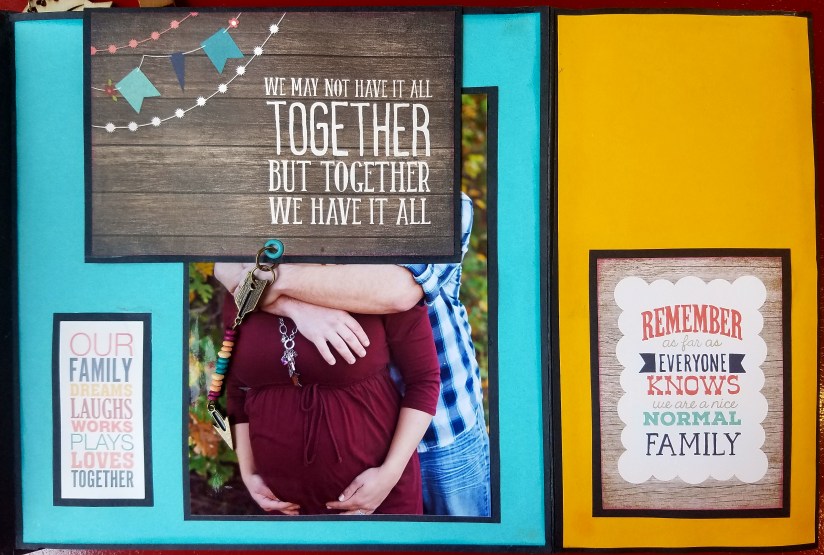
Then when you lift this card up. . . you can see pictures of us.
Flip the yellow side of the page open and you see this. . .
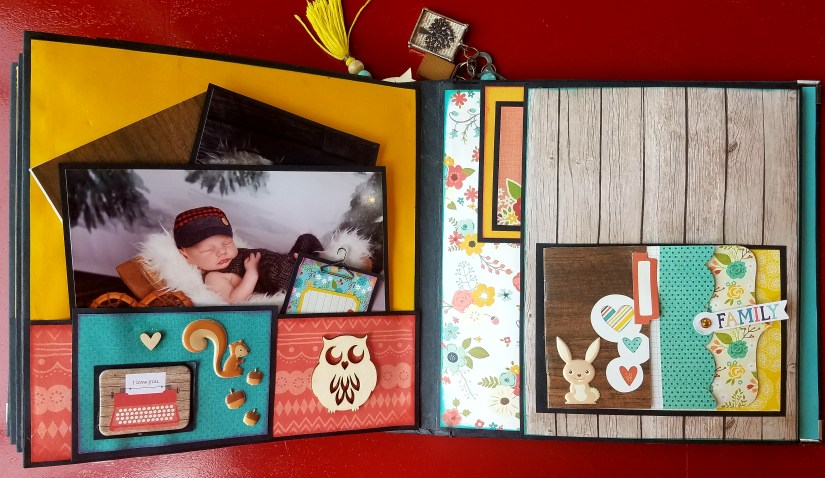
Page 4:
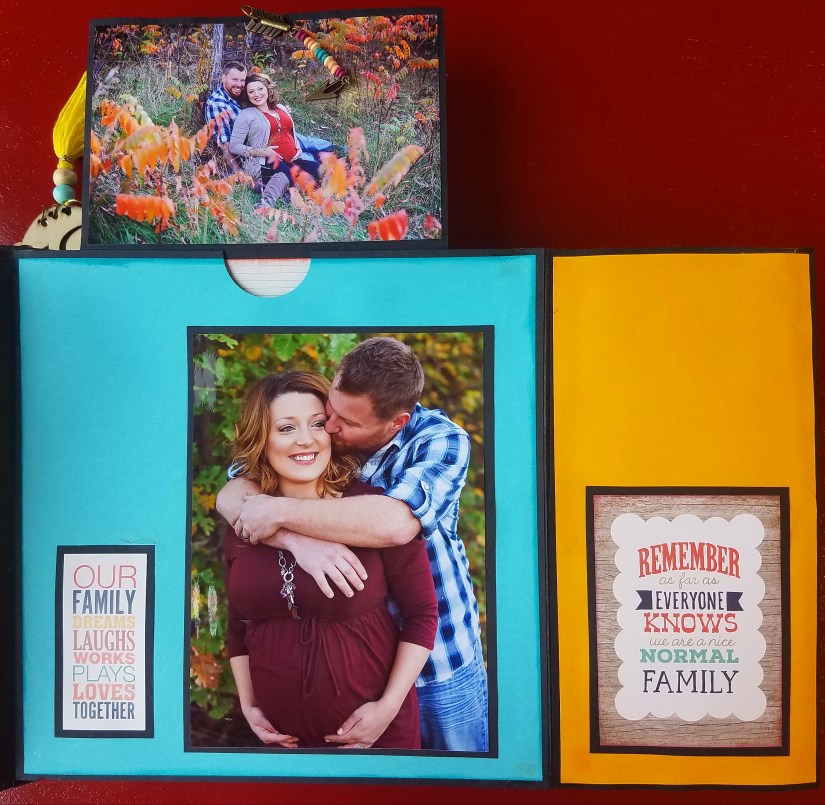
The left hand side is the back of page 3. It features a pocket with pictures on photo mattes.
You can see here how these photo mattes and cards can easily come out of the pocket for viewing them up close.
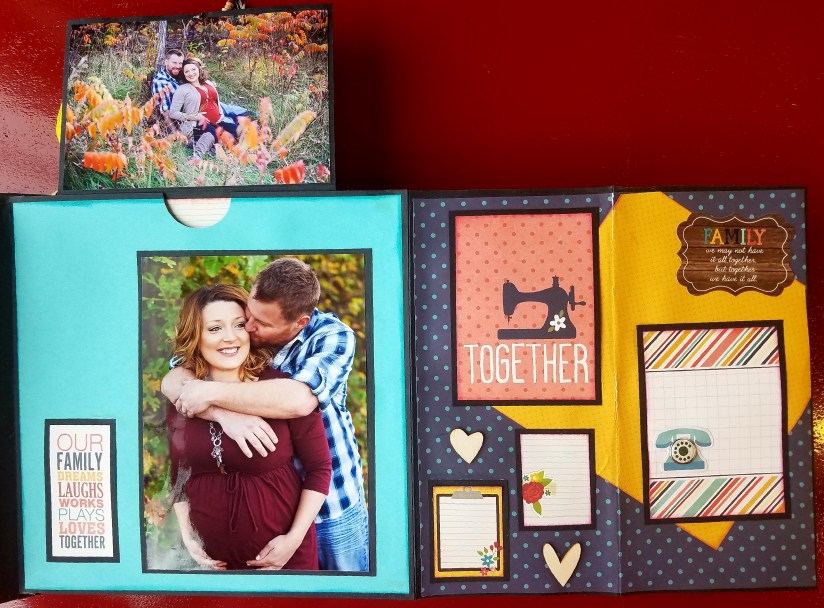
Here is the right hand side of the page and beginning of page 4. When you flip this flap open. . .
You see this. . .
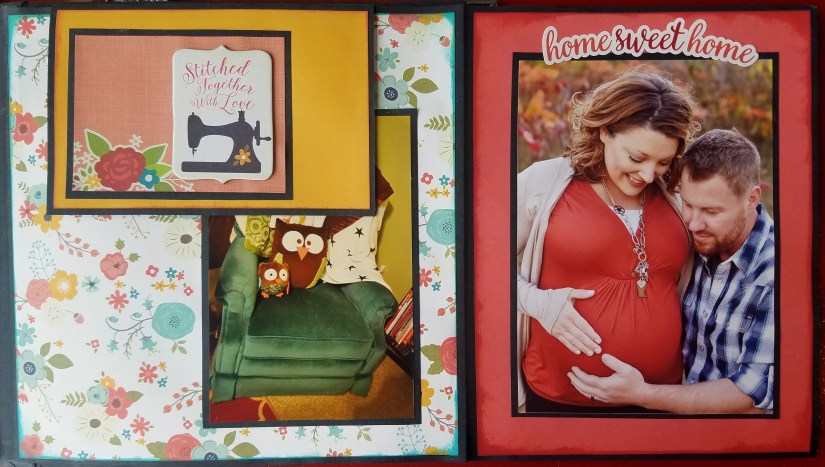
Page 5:
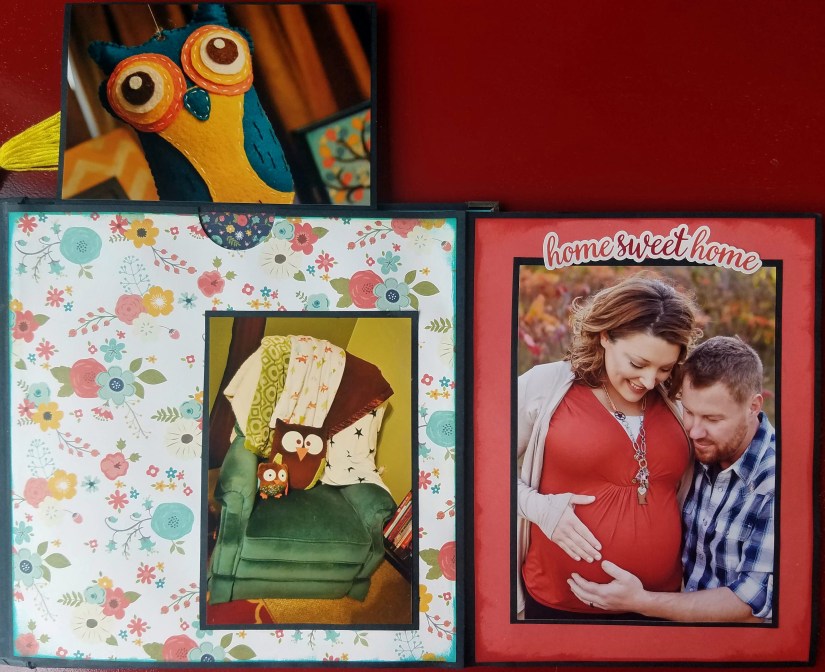
Looking at this photo below, you can see the back of page 4 on the left and the beginning of page 5 on the right. Page 5 has a flap that folds out. When you flip it . . .


You see this. . .
Flip the card flap up and you see this. . .
Page 6:
I put a pocket on the back of page 5. Then on the front of page 6 is a waterfall flap. This one was actually the simple stories collection and came with a couple pockets that you see throughout this book. When you flip this page open. . .


You see this. . .
Flip it the card flap up and you see this. . .
Then on the back of the last page. . .